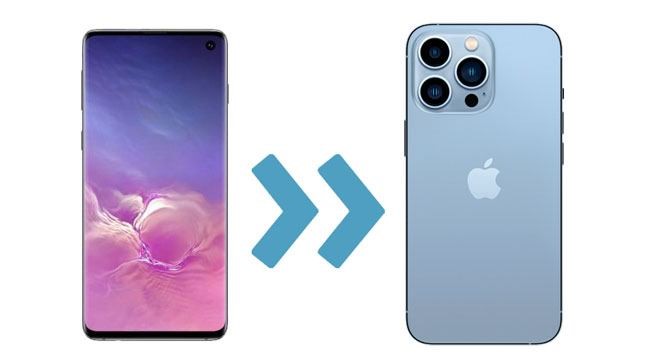

You’ve finally made the leap. That new iPhone is sitting on your desk, shiny and ready for action. But before you can enjoy the walled garden of iOS, you face the dreaded data transfer. Moving years of photos, contacts, messages, and apps from an Android device to a brand-new iPhone used to be a headache, but Apple has refined the process significantly.
As the tech experts at 1apple.xyz, we’re here to walk you through the official, easiest, and fastest methods for secure data migration. If you want to switch to iPhone without losing a single memory, this guide is for you.
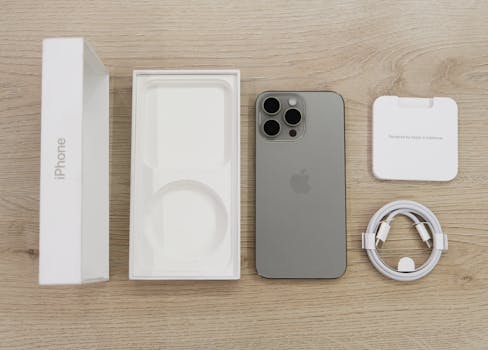
The Official Apple Way: Using the Move to iOS App
The simplest method to transfer your critical files—including contacts, message history, camera photos, videos, web bookmarks, mail accounts, and calendars—is using Apple’s dedicated application: the Move to iOS app. Crucially, this process only works during the initial setup of your new iPhone.
Prerequisites Before You Begin
- Your iPhone must be brand new or already factory reset (at the “Hello” screen).
- Both devices must be charged, preferably plugged in.
- Ensure Wi-Fi is enabled on your Android phone.
- Download the Move to iOS app from the Google Play Store onto your Android device.
- Ensure the data you wish to transfer fits on the storage capacity of your new iPhone.
Step-by-Step Using Move to iOS
This process relies on the iPhone creating a private, secure Wi-Fi network that the Android phone connects to, ensuring a fast, wireless transfer.
- Start iPhone Setup: Begin setting up your new iPhone until you reach the Apps & Data screen.
- Select Data Migration: Tap the option labeled Move Data from Android. The iPhone will display a ten-digit or six-digit code.
- Open the App on Android: Launch the Move to iOS app on your Android phone. Accept the Terms and Conditions, and tap Continue.
- Enter the Code: When prompted, enter the code displayed on your iPhone into the Move to iOS app on your Android device.
- Wait for Connection: The Android phone will now establish a direct, peer-to-peer Wi-Fi connection with the iPhone.
- Select Content: On the Android device, select the content you wish to transfer (Camera Roll, Contacts, Message History, etc.). Tap Next.
- Wait for Transfer: Both phones will show a progress bar. Do not use either device or disconnect them until the transfer is complete. The length of the transfer depends heavily on the amount of photos and videos you have.
- Complete iPhone Setup: Once the transfer bar is full on your iPhone, tap Done on the Android phone. You can now finish setting up your Apple ID, Face ID, and password on your new iPhone.
Oops! What If You Already Set Up Your iPhone?
This is the most common mistake. If you skipped the “Apps & Data” screen to play around with the new phone, you cannot use the Move to iOS app without performing a factory reset.
If your iPhone is already set up and you want to use the official transfer method, you must erase your iPhone. Go to Settings > General > Transfer or Reset iPhone > Erase All Content and Settings.
Once reset, the phone will return to the “Hello” screen, allowing you to follow the steps above.
Handling Specific Data Types Manually
If you prefer not to wipe your new iPhone, or if you only need to move specific cloud-based items, you can transfer certain data types manually. This is often necessary for data that resides outside the local storage (e.g., cloud-synced photos).
Contacts, Calendars, and Mail
If you used a Google account for contacts and calendar syncing on Android, this step is incredibly easy.
- Google Integration: On your iPhone, go to Settings > Mail > Accounts > Add Account > Google.
- Sign In: Enter your Gmail credentials.
- Enable Sync: Ensure the toggles are green for Mail, Contacts, and Calendars. Your data will instantly sync with your new iPhone, often within minutes.
Photos and Videos
Photos are usually the largest hurdle. While Move to iOS transfers your local camera roll, any photos stored only on Google Photos or other cloud services will not transfer automatically.
The best workaround for massive photo libraries is to leverage the cloud:
- Google Photos: Download the Google Photos app on your iPhone. Once signed in, all your previously backed-up photos and videos will be accessible immediately.
- iCloud Transfer (Recommended for Future): If you want your photos stored locally and backed up to iCloud, use the Google Photos app to manually download all content back onto your Android device’s storage before running the Move to iOS app. Alternatively, download them to a computer, then upload them to iCloud.
Music and Documents
Android used to rely heavily on local MP3 files. iPhone users typically rely on streaming services or iTunes/Apple Music.
- Music: If you use Spotify, Apple Music, or YouTube Music, simply download the app and sign in. Your playlists will be preserved.
- Documents and Files: If your files were stored on Google Drive, Dropbox, or OneDrive, download the corresponding app onto your iPhone and sign in. All your documents will be available instantly.
Final Thoughts
Switching ecosystems doesn’t have to be intimidating. By using the official Move to iOS app during the initial setup, you ensure the vast majority of your personal data—especially those vital messages and contacts—are transferred quickly and securely.
For high-value assets like your Gmail contacts or large photo libraries, leveraging cloud services like Google Photos or Google Drive offers a reliable backup strategy, providing immediate access to your history even before the full transfer completes. Welcome to the Apple ecosystem!
Happy switching!